
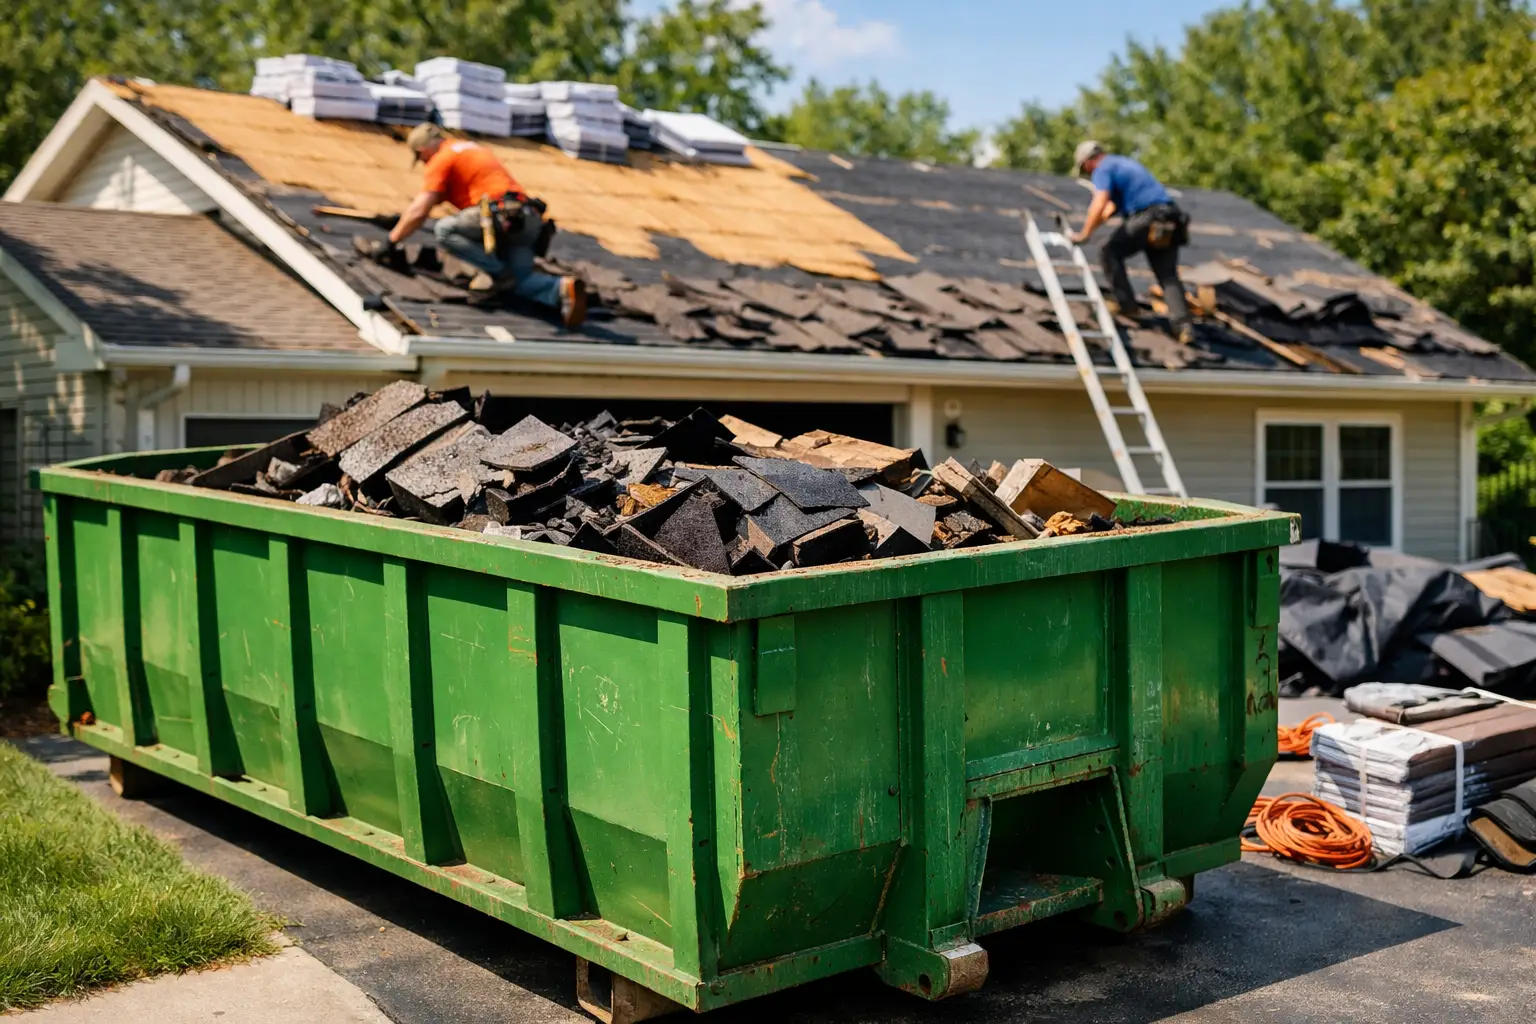
A roof tear-off moves fast. One minute the crew is stripping shingles, and the next your yard is dotted with nails, felt, flashing, and piles of old roofing that have nowhere to go. A dumpster rental for roofing puts the mess in one place from the first bundle down to the final sweep.
That sounds simple, but size, placement, weight, and timing all matter. Order too small and the job stalls while you figure out the overflow. Put the container in the wrong spot and the crew spends the day walking farther than they should. Plan it right, though, and the debris disappears as the old roof does. Drop it. Fill it. We haul.
Why roofing jobs need a real debris plan
Old roofing is bulky, sharp, and heavier than it looks. Asphalt shingles stack up quickly, especially when there are multiple layers coming off. Underlayment, drip edge, vents, wood decking, and damaged gutters can add even more volume and weight.
A pickup truck seems tempting until you picture the repeat trips. Every run means loading, securing the load, driving to a disposal site, unloading, and getting back to the property. That is time the crew is not spending on the roof. It also leaves debris sitting around longer, where wind, rain, pets, and foot traffic can turn it into a bigger headache.
A roll-off dumpster keeps the job site moving. Roofers can toss materials down to a controlled collection area, then load the container as they go. Homeowners doing a DIY repair get the same benefit: one place for the mess, on their own schedule.
Choosing a dumpster rental for roofing by job size
The right size depends on more than the square footage of your house. Roof pitch, the number of existing shingle layers, the amount of decking being replaced, and whether you are clearing out related construction debris all change the answer.
Bye-Bye Buckeye offers 10-, 15-, 20-, and 30-yard roll-off dumpsters. Here is the practical way to think about those options.
Small repairs and light roofing debris
A 10-yard dumpster can make sense for a limited repair, a detached garage, a small shed roof, or a project with only a modest amount of shingles and trim. It is also a good fit when driveway space is tight.
The trade-off is capacity. A 10-yard container can fill much sooner than expected if you start pulling up multiple shingle layers or replacing rotted decking. It is better to be honest about the scope before delivery than to try to pack a full roof replacement into a small box.
Typical single-family roof replacements
For many straightforward home reroofs, a 15- or 20-yard dumpster is the practical middle ground. It gives a roofing crew room to work without taking over the entire driveway. If the roof has a steep pitch, several valleys, a second layer of shingles, or extra material coming out with the tear-off, lean toward the larger option.
A 20-yard dumpster is often the safer call when the job estimate is close. You do not want to play debris Tetris while the roof is open to the weather.
Large roofs, heavy tear-offs, and renovation debris
A 30-yard dumpster is built for bigger loads: large homes, multi-layer tear-offs, extensive decking replacement, or a roofing job tied to a broader renovation. The added volume helps, but roofing material is dense. Weight limits still apply, so do not assume a bigger container means you can load it without a plan.
When in doubt, describe the roof, the number of layers, and what else is being removed when you request a quote. A quick conversation before delivery beats an expensive surprise after pickup.
Shingles take up space, but weight drives the decision
Roofing debris is not like cardboard boxes or old furniture. Shingles are compact and heavy, particularly after rain. A container may look only partly full while carrying a serious amount of weight.
That is why a good roofing dumpster plan considers both volume and material. Keep clean roofing debris together when possible. Avoid tossing in unrelated heavy materials such as concrete, dirt, bricks, or large amounts of landscaping waste unless that has been discussed ahead of time. Those materials can change disposal requirements and push the load beyond its included weight.
Do not load above the container rails. Overfilled dumpsters are unsafe to transport, and loose shingles or nails can become road debris. Keep everything level, inside the walls, and easy for the driver to tarp and haul.
Where to put the dumpster before the crew arrives
The best spot is usually a flat, accessible section of driveway close enough to the house that loading is efficient, but far enough from the work zone to avoid blocking ladders, material deliveries, and vehicles. The delivery truck needs clear access too. Low branches, overhead wires, narrow turns, parked cars, and soft ground can all create problems.
Before the dumpster arrives, move vehicles and anything fragile from the driveway. If you are concerned about the surface, use plywood under the container's contact points if your rental provider recommends it. That extra layer can help spread pressure and reduce scuffing or marks.
Street placement may be useful when a driveway is too narrow or inaccessible, but it can require local permission depending on the neighborhood and municipality. Check that before delivery day. A container that cannot be placed where planned can throw off the whole schedule.
Keep the roofing job safer and cleaner
A dumpster handles the bulk debris, but a clean roofing site still needs attention. Put a plan in place before the first shingle comes down. Keep the loading path clear, designate a spot for debris, and make sure no one is walking beneath active tear-off work.
For homeowners, keep children and pets away from the work area until the final cleanup is complete. Roofing nails travel. Crews often use tarps and magnetic rollers to catch what falls, but it is smart to avoid the driveway and yard during the busiest part of the job.
If you are doing the work yourself, wear gloves, eye protection, sturdy boots, and a hard hat when appropriate. Do not stand on unstable piles of shingles to reach the top of the dumpster. Load from a safe position, break down bulky pieces when you can, and ask for help with awkward materials.
Timing your delivery and pickup
A roofing project does not always follow the calendar. Weather can delay a tear-off. Decking damage can add a day. Material delivery windows can shift. That is why a rental period that matches your real timeline matters more than picking a random date and hoping everything stays on track.
Schedule delivery before the tear-off begins so the container is ready when debris starts falling. If a professional crew will be on site for one day, delivery the day before can prevent a rushed morning. For DIY work, give yourself enough room to work safely without feeling pressured to load everything in a single weekend.
Once the container is full and the work area has had its final nail sweep, arrange pickup. Do not leave a full dumpster sitting longer than needed. It takes up space, and an open container can attract extra trash from passersby.
What can go in a roofing dumpster?
Typical roofing debris is usually straightforward: asphalt shingles, felt or synthetic underlayment, flashing, drip edge, vents, gutters, small amounts of wood, and packaging from new materials. Still, disposal rules can vary by material and location.
Keep hazardous or restricted items out unless you have clear approval. That includes liquids, fuels, paint, chemicals, batteries, propane tanks, and anything you suspect may contain asbestos. If the roof is very old or has unusual materials, pause before tearing into it. Getting the material identified first protects everyone handling it and keeps disposal legal.
Also think about what is already in the dumpster before adding a last-minute pile from the garage. A roofing container is priced and planned around roofing debris. Mixing in unrelated heavy or prohibited material is one of the quickest ways for a simple project to get complicated.
Make the last sweep count
When the new roof is on, the job is not quite over until the ground is clear. Walk the driveway, landscaping beds, sidewalks, and the street edge. A magnetic nail sweeper is worth the extra pass, especially around vehicles and areas where people walk barefoot.
The best dumpster rental for roofing is not just a box parked by the house. It is a way to keep a loud, messy job under control. Pick a size with room to breathe, give the truck a clear place to work, load safely, and let the debris leave when the job does. Then the only thing left overhead is the new roof.