
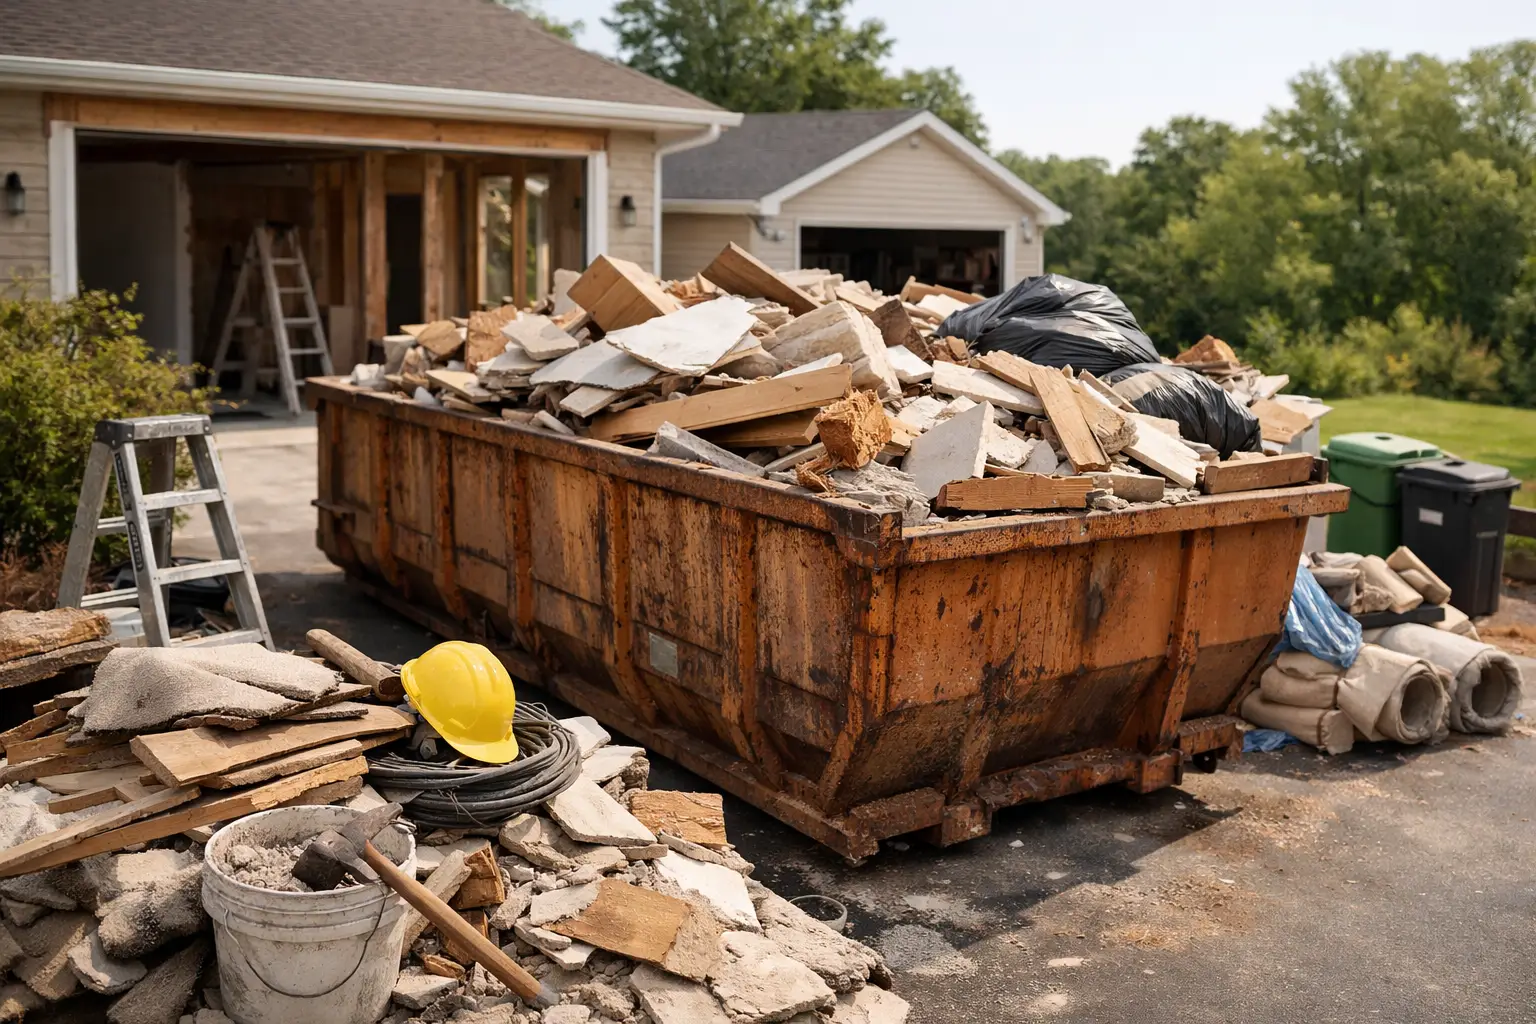
A bathroom demo can fill a pickup bed faster than most people expect. Add broken drywall, old flooring, packaging, and a vanity that weighs more than it looked online, and the pile becomes its own project. This home renovation waste disposal guide helps you make a plan before debris blocks the driveway, slows the work, or turns into six frustrating dump runs.
The goal is simple: keep usable materials out of the trash when possible, keep prohibited materials out of the dumpster, and choose a removal setup that matches the size and pace of your job. Then you can get back to the part of renovation that actually changes your house.
Plan for debris before demolition starts
Waste disposal is easiest when it is part of the renovation plan, not the cleanup panic at the end. Walk each room before work begins and make a rough inventory of what is coming out. Cabinets, carpet, drywall, lumber, shingles, tile, fixtures, appliances, and boxes all take up space differently. A small kitchen refresh may create a surprisingly dense load of tile and countertop. A deck tear-out may create a bulky but lighter pile of lumber.
Also think about where debris will sit between work sessions. A heap beside the garage looks harmless on day one. After rain, wind, and a few more demolition days, it can become wet, scattered, and difficult to load. Keeping waste contained protects your work area and gives you a clear view of progress.
For projects around Bowling Green and Northwest Ohio, it also pays to plan around weather. Cardboard and drywall do not improve after a wet week, and loose insulation or plastic wrap can travel farther than intended on a windy day. Put a container close enough to the work zone to use, but leave room for deliveries, vehicles, and safe walking paths.
Sort renovation waste into the right lanes
You do not need to separate every nail and scrap of wood like a laboratory technician. But a few basic categories prevent disposal problems and can make cleanup much easier. Keep hazardous items apart from ordinary construction debris from the start.
Ordinary construction debris
Most routine renovation waste falls here: drywall, lumber, carpet, laminate flooring, cabinets, doors, trim, non-electronic fixtures, insulation, and general demolition debris. These materials are usually appropriate for a roll-off dumpster or a full-service junk haul, depending on how much you have and who is doing the lifting.
Bag small, dusty material when practical. Break down cabinets and long pieces of trim if they create awkward, empty space. Do not turn loading into a game of debris Jenga, though. Heavy items belong on the bottom, and nothing should stick above the top rail of a dumpster.
Heavy materials
Concrete, brick, block, dirt, rock, and asphalt are different from a pile of drywall. They get heavy fast. A few broken sidewalk slabs can weigh more than a whole room of carpeting and trim.
If your renovation includes masonry or concrete, tell the disposal provider before delivery or pickup. These materials may require a smaller container, a dedicated load, or limits on how much can go in. Mixing a mountain of concrete with ordinary debris can create weight issues that are avoidable with a quick conversation upfront.
Materials worth donating, recycling, or saving
Not everything removed from a house is trash. Clean cabinets, working appliances, usable doors, hardware, light fixtures, and leftover building materials may still have a second life. If you can set aside a small staging area, do it before demolition begins.
This route is worthwhile when items are in good condition and you have the time to move them along. It is not always the right call for damaged, moldy, incomplete, or outdated materials. Be honest about what is reusable. A warped particleboard cabinet with missing doors is probably just debris wearing a hopeful disguise.
Items that need separate disposal
Paint, solvents, automotive fluids, propane tanks, batteries, chemicals, and certain electronics should not be tossed into general renovation debris. These items can be hazardous, flammable, or restricted at disposal facilities.
Older homes demand extra caution. Materials such as suspected asbestos-containing flooring or insulation, lead-based paint debris, and mercury-containing devices need professional assessment and specialized handling. Do not break apart or bag questionable material just to make it fit in the dumpster. Stop, identify it, and follow the applicable local and state requirements.
Choose between a dumpster and full-service hauling
The right option depends less on the size of your house and more on the rhythm of the work. Are you clearing everything out in one hard weekend? Or will demolition, repairs, and deliveries stretch across several weeks?
A full-service haul is often the better fit for a fast cleanout, a finished project, or a pile that is already sitting in the garage or yard. A crew does the lifting and loading, which saves your back and keeps you from figuring out how to fit an old tub around a truck wheel well. It is especially useful when the waste is bulky, inconvenient, or simply not worth handling yourself.
A roll-off dumpster makes sense when you are renovating in stages and want a dedicated place for debris throughout the project. You toss materials as you work, keep the site clearer, and avoid repeated pickup-truck runs. It is the DIY-friendly choice for a room remodel, flooring removal across several rooms, a deck replacement, or a larger renovation with changing amounts of debris.
Bye-Bye Buckeye offers both lanes: a crew that loads the mess for you and roll-off dumpsters in 10-, 15-, 20-, and 30-yard sizes for projects on your schedule. The best choice is the one that keeps work moving without leaving a debris pile in charge of your driveway.
Pick a container size without underestimating the mess
When in doubt, estimate by volume and weight. Light but bulky materials such as carpet, cabinets, and packaging consume a lot of room. Dense materials such as tile, plaster, concrete, and wet lumber consume weight capacity quickly.
A 10-yard dumpster can work well for a small bathroom, a single-room flooring project, or a compact cleanout. A 15- or 20-yard container is often more comfortable for kitchen renovations, multi-room updates, or deck removal. A 30-yard dumpster is generally reserved for major remodeling, large cleanouts, or projects where bulky material accumulates quickly.
Bigger is not automatically better. A large container takes more driveway space, and it can be tempting to fill it with materials that should not go together. On the other hand, choosing too small can mean overfilling or needing a second container. Describe the work honestly when requesting a quote: the rooms involved, major materials being removed, and whether heavy debris is part of the load.
Load safely and keep the worksite usable
A dumpster is not a free-for-all. Start with flat, heavy pieces on the bottom. Place lighter items and bagged debris on top, filling gaps as you go. Keep sharp objects, broken glass, and exposed nails contained whenever possible. If a board is full of nails, bend or pull them before handling it again.
Do not overload the container. Debris above the rim can create hazards during transport and may need to be removed before pickup. Keep children, pets, and anyone without proper footwear away from the loading area. Renovation waste is packed with sharp edges, hidden screws, and materials that are heavier than they appear.
Protect the driveway, too. Confirm the placement area before delivery, move vehicles, and keep access open for the truck. If you have concerns about tight clearance, low branches, soft ground, or a shared drive, bring them up before the container arrives. Small site details are easier to solve before a truck is backing in.
Avoid the disposal mistakes that cost time
The most common mistake is waiting until the pile is already out of hand. The second is assuming every item can go into one container. A few minutes spent identifying paint, chemicals, batteries, and heavy materials can prevent a rejected load or a last-minute scramble.
Another costly habit is treating a personal vehicle like a construction hauler. Multiple dump runs burn time, fuel, and energy, especially when you are also trying to keep a renovation on schedule. For a few bags, a pickup may be fine. For a room full of demolition debris, a container or professional haul is usually the cleaner move.
Finally, do not leave disposal until the contractor is packing up or the last piece of flooring is installed. Cleanup affects how safely people can work, how quickly materials can be delivered, and whether the finished space feels finished at all.
A good renovation leaves you with better walls, better floors, or a better kitchen - not a driveway full of questions. Set up the disposal plan early, load with care, and when the old stuff is ready to go, give it the farewell it deserves: haul it, dump it, bye-bye.