
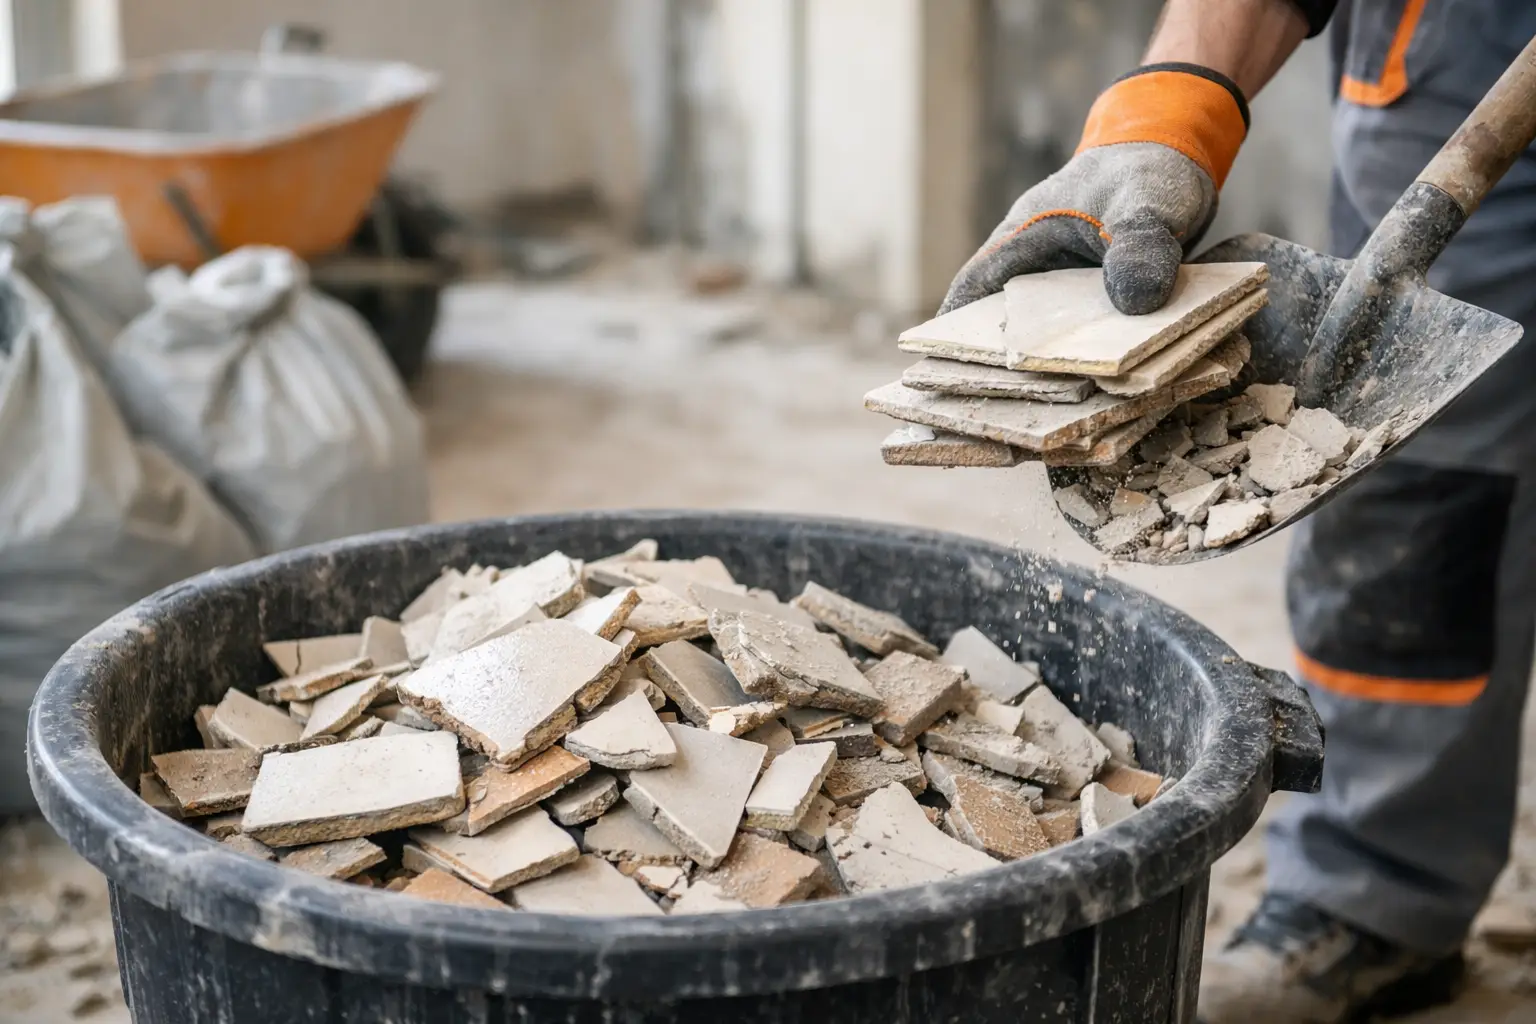
A bathroom floor can look manageable right up until the first row of tile comes loose. Then there are sharp shards underfoot, buckets of mortar, dusty grout, and a pile that weighs far more than it looks. Smart tile disposal is less about finding a place to toss debris and more about keeping the job safe, contained, and easy to haul.
Old tile is not light household junk. Ceramic, porcelain, stone, thinset, and cement backer board are dense materials. A few contractor bags can become a load your vehicle, trash cart, or driveway was never meant to handle. Plan the cleanup before demolition starts, and the last part of the renovation will not become the part everybody avoids.
Why Tile Disposal Gets Complicated Fast
Tile demolition creates a mixed pile. The visible pieces are only part of it. Under the surface, you may have mortar, grout, underlayment, screws, wood trim, cement board, drywall, and broken fixtures. Some of that can go out with ordinary construction debris. Some needs separate handling. All of it gets heavy.
That weight changes the plan. A standard trash cart may have a weight limit, and a collection crew may leave bags behind if they are too heavy to lift safely. Loading a pickup without securing the debris can scatter sharp fragments down the road. Filling a dumpster with dense material above its marked fill line can also create a pickup problem.
There is no prize for muscling through it with one enormous bag. Smaller, manageable loads keep the cleanup moving and reduce the chance of a torn bag, a strained back, or a chipped driveway.
Sort the Tile Before You Haul It
You do not need to make demolition debris look pretty. You do need to avoid mixing in items that cannot travel in the same load. As you pull up tile, make separate areas for clean tile and mortar debris, general renovation waste, metal, and anything questionable.
Clean ceramic, porcelain, natural stone, grout, and thinset are generally treated as construction and demolition debris. If you have a large amount of clean, separated masonry material, ask a local disposal site whether it accepts it for recycling or aggregate processing. That option depends on the facility and on how clean the load is. Tile covered in adhesives, wood, drywall, or random trash may not qualify.
Metal transition strips, plumbing pieces, and larger metal fixtures are worth separating when practical. They are easier to handle apart from sharp tile, and some facilities accept metal separately.
Keep paint cans, solvents, batteries, propane cylinders, chemicals, and electronics out of the tile pile. Those materials have their own disposal rules. Do not bury them under broken floor debris and hope they disappear at the dump.
Watch for Older Materials You Cannot Identify
Most tile jobs are straightforward, but an older home can bring surprises. If you uncover black adhesive, damaged old sheet flooring beneath tile, insulation, or materials you cannot identify, pause before grinding, scraping, or bagging it up. Certain older building materials may need testing or special handling.
The same goes for excessive dust. Dry demolition, chipping, and cutting can put fine particles in the air. Wear eye protection, gloves, sturdy boots, and a properly fitted dust mask or respirator suited to the work. Open windows when appropriate, use dust control methods, and keep kids and pets out of the work zone.
How to Bag and Stage Broken Tile
The easiest way to make tile removal miserable is to overfill flimsy trash bags. Broken edges punch through plastic quickly, especially when mortar is attached. Use heavy-duty contractor bags, but treat them as containers for small loads, not as a test of your lifting strength.
A good rule is to fill a bag only to a weight you can lift and carry without twisting or dragging it. For many people, that means stopping well before the bag looks full. Double-bag sharp pieces if needed, or place smaller shards in a rigid container first. Five-gallon buckets, heavy boxes lined with bags, and sturdy totes can work well for short trips from the work area to the staging spot.
Stage debris on a flat, accessible surface near the exit, but do not block walkways, garage doors, or the path for a hauling crew. Put a sheet of plywood under containers if you are worried about scratches or concentrated weight on a finished surface. Keep the pile covered if rain is likely. Wet mortar and waterlogged bags are heavier, messier, and harder to move.
Choose the Right Tile Disposal Route
The right removal method depends on how much tile you have, what else is coming out, and how quickly you want the mess gone.
For a very small project, such as a few replacement tiles or a modest backsplash, taking controlled loads to an approved local facility may make sense. Check the facility's accepted materials, fees, hours, and vehicle requirements before loading up. It is frustrating to arrive with a mixed load and learn that part of it needs to go somewhere else.
For a bathroom, kitchen, or several-room flooring project, a roll-off dumpster gives you room to work on your own schedule. It is especially useful when tile is only one part of the renovation and you also have cabinets, trim, drywall, or packaging to remove. Tell the dumpster provider that you are loading tile, mortar, or other dense debris. Heavy materials may affect the recommended container size, permitted amount, and loading instructions.
Do not assume a larger dumpster automatically means you should fill it entirely with tile. Dumpster volume and dumpster weight are different things. Tile takes up limited space but adds weight fast. A provider can help you choose a container and loading plan that will actually be safe to haul.
If demolition is done and you want the pile gone without renting equipment or lifting bags into a container, full-service junk removal is often the cleaner lane. A crew can load the debris, handle the heavy lifting, and clear the staging area. That option is handy for homeowners who do not want broken tile sitting in the driveway for a week.
In Bowling Green and northwest Ohio, Bye-Bye Buckeye offers both lanes: a crew that loads and hauls, or a roll-off dumpster you fill on your own timeline. The best choice comes down to whether you want to swing the sledgehammer only, or handle every last bag too.
Protect Your Driveway and Your Back
Tile is rough on more than trash bags. A concentrated stack of buckets, a dropped chunk of stone, or repeated wheelbarrow trips can mark up concrete and asphalt. Place plywood under heavy staging areas, especially near the edge of a driveway. Keep loads balanced in a wheelbarrow and avoid ramming a full wheel against curbs or steps.
When lifting, get close to the container, bend at your knees, and keep the load near your body. Do not twist while carrying a bucket of tile. Set it down, turn your feet, and pick it back up if you need to change direction. It takes a few extra seconds and saves the kind of back pain that lasts much longer than the remodel.
If you are loading your own vehicle, protect the bed with a tarp or plywood and secure every load. Tile fragments can slide, bounce, and puncture bags. Never pile debris so high that it can blow out, shift into traffic, or block your view.
A Cleaner Finish to the Renovation
Before pickup day or your trip to a disposal facility, sweep the work area twice. Tile chips have a talent for hiding in grass, under cabinets, and in the grooves of a driveway. Use a shop vacuum for fine dust only after larger pieces are removed, and inspect shoes and tires before leaving the site.
A renovation feels finished when the new floor is down, but the job is not truly done until the old one is out of your way. Keep the tile pile small, keep the heavy stuff planned, and when the debris starts calling the shots, give it the only answer it deserves: bye-bye.